Top 3 Tips for Blending Wigs with Real Hair
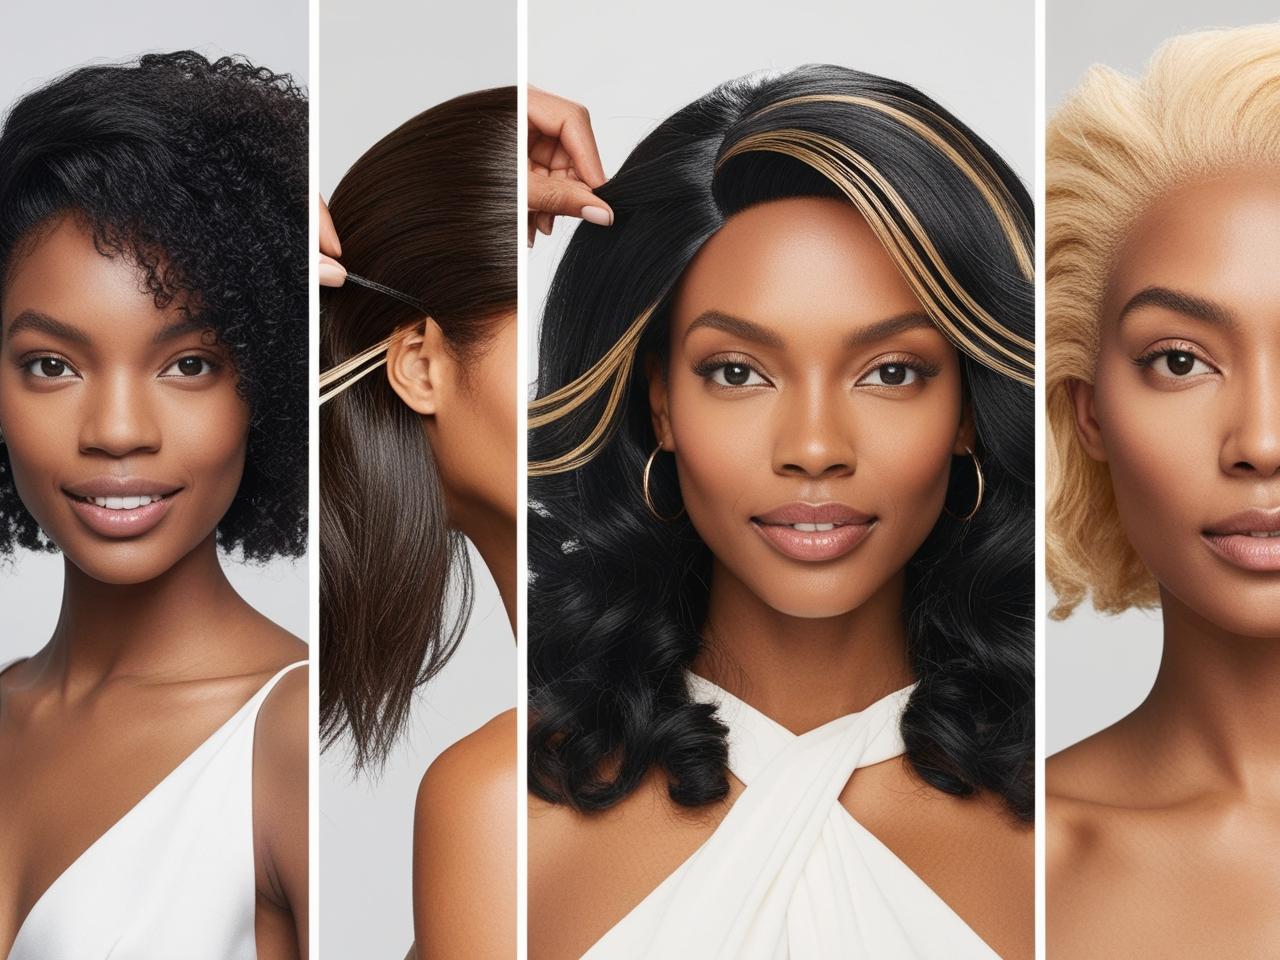
For wig wearers, the ultimate goal is to create a flawless, undetectable transition between their real hair and their wig. Visible parting lines or mismatched hair textures can instantly ruin the realistic look of a wig. Whether you're new to wearing wigs or a seasoned veteran, mastering the art of seamless parting is crucial to creating a natural and confidence-boosting look. In this guide, we'll detail three key techniques to help you achieve a seamless blend of real hair and wigs, using popular keywords such as “lace front wigs,” “monofilament parting,” and “seamless extensions. “1. Choose the right wig construction.
1. Choosing the right wig construction for a realistic scalp effect
The key to seamless extensions is choosing a wig that mimics the scalp using an advanced process. The following are aspects to focus on:
Pre-trimmed hairline lace front wigs:
Lace front wigs are favored for their natural hairline and versatile styling. Choose a style with pre-trimmed hairs and bleached knots to minimize the “grid” look at the parting line. For the ultimate in realism, consider a high-definition lace wig that blends well with all skin tones.
Monofilament top wig with multidirectional seams:
Monofilament tops are made of a lightweight, breathable material that mimics the look of your natural scalp. This allows you to have as many partings as you want (center, side or zigzag) without exposing the base of the wig. With hand-woven hair, its movement matches the natural flow of real hair.
Silk base wigs create a sheer scalp effect:
Silk base wigs create a scalp-like effect by replicating the subtle shading of natural hair roots. They are perfect for center partings and work especially well in bright light.
2. Master the art of customized seams
Even the best wigs need to be fine-tuned to your unique features. Follow these steps to perfect your parting:
Zigzag or “irregular” parting technique:
Straight partings often look too perfect (and unnatural). Use a tail comb to create a slightly uneven zigzag pattern along the parting line. This mimics the irregular growth pattern of natural hair.
Cover the base of the wig with a root finishing product:
Apply a microfiber root concealer or matte eyeshadow that matches the color of your scalp to the parting area. This will blur the lace or mesh and create a layered look. For darker hair, a soft black loose powder works great.
Match the volume of your natural hair:
If your real hair is fine, avoid choosing a wig with too much volume at the parting line. Use tweezers (gently pulling out strands in the direction of hair growth) to reduce the volume of hair near the wig's parting line. For more realism, if you have a few gray hairs in your real hair, you can also add some to your wig.
3. Blend hair texture and color for a coordinated look
The final step is to make sure the texture and color of the wig matches your real hair. This is done in the following way:
Choose heat-resistant fibers for styling synergy:
If your natural hair is straight, choose a heat-resistant synthetic wig or a real hair wig that can be straightened with a straightener. For curly hair, choose a watery or big wave wig and use a curl styling cream to unify the two hair types.
Stretch the roots of your hair for a gradual color transition:
Use a color conditioner or temporary hair color to lighten raw root lines. For example, if your real hair is dark brown and your wig is solid black, add a gradient effect to the midsection of the wig to reduce the color difference.
Create tire hair and broken hair to enhance edge realism:
Use Edge Styling Gel and a soft bristle brush to create fine, face-framing lanugo hairs. For wigs with a neat hairline, gently pull out a few strands to create a natural, broken-in effect.
Ready to level up your wig styling? Browse our hand-picked collection of lace front wigs with bleached knots and monofilament cap top wigs designed to achieve seamless hair extensions!
Related Posts
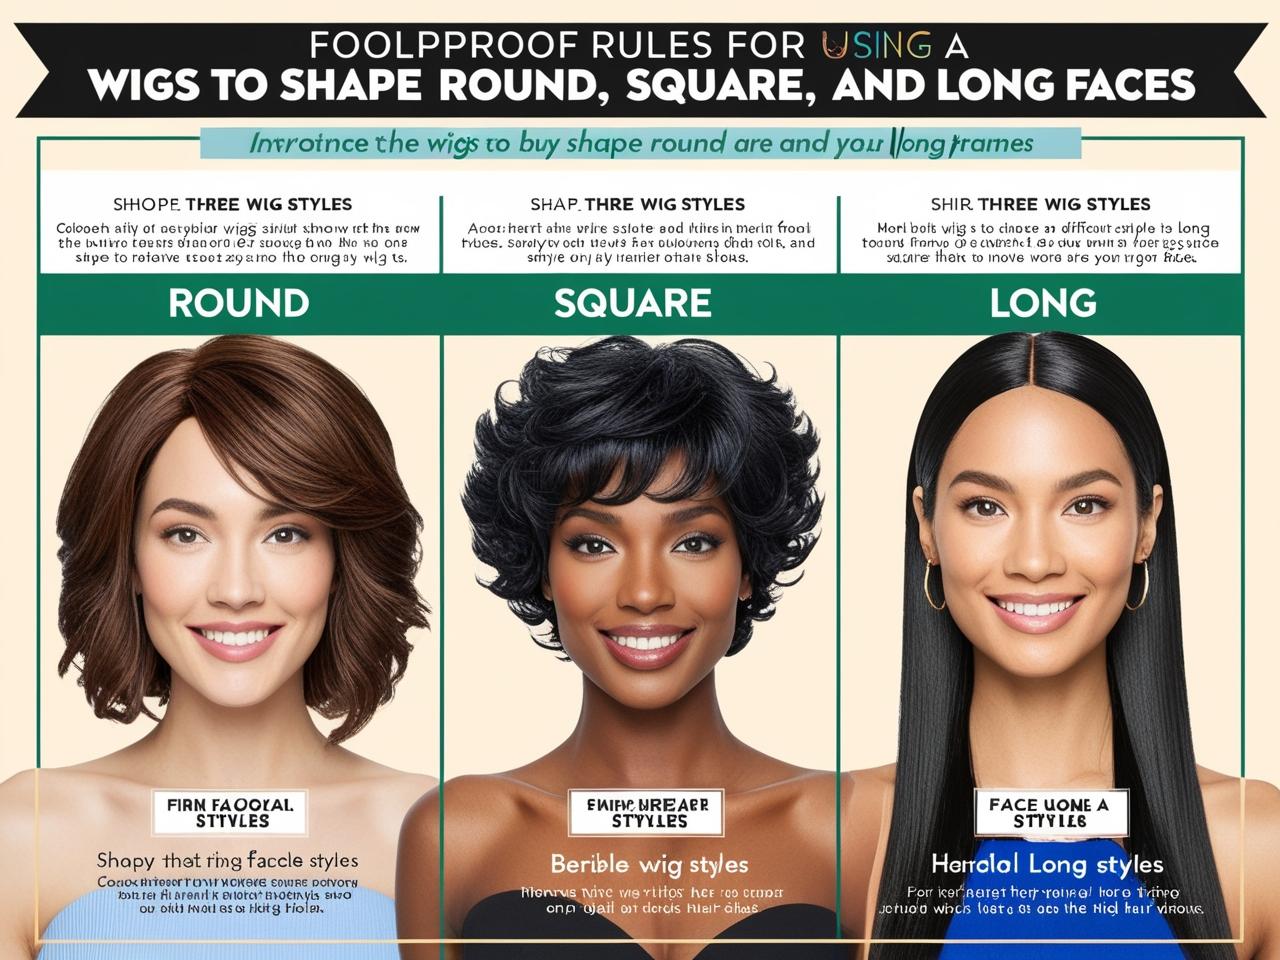
How to contour your face with a wig
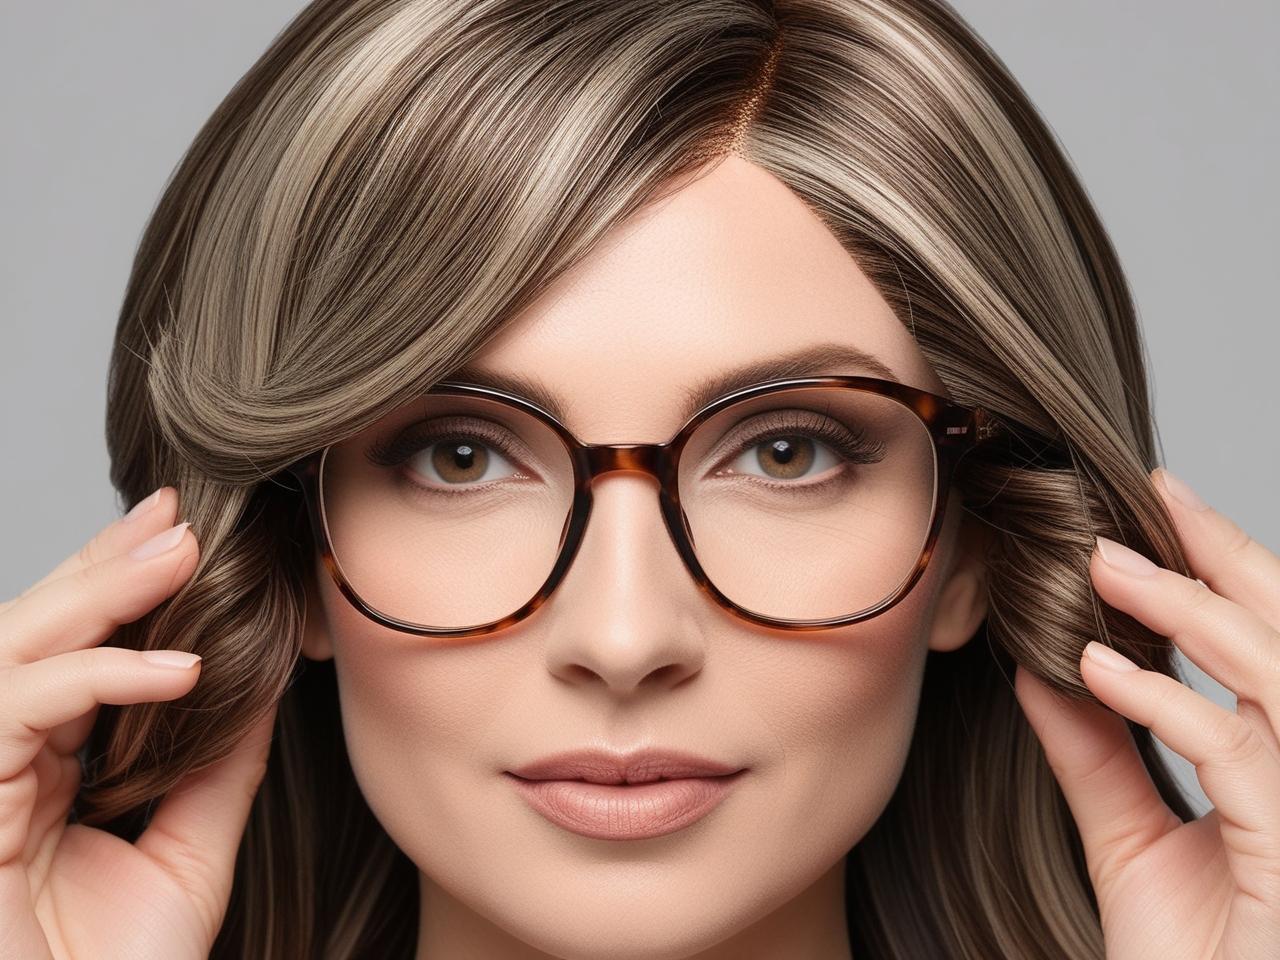
The art of styling wigs while wearing glasses
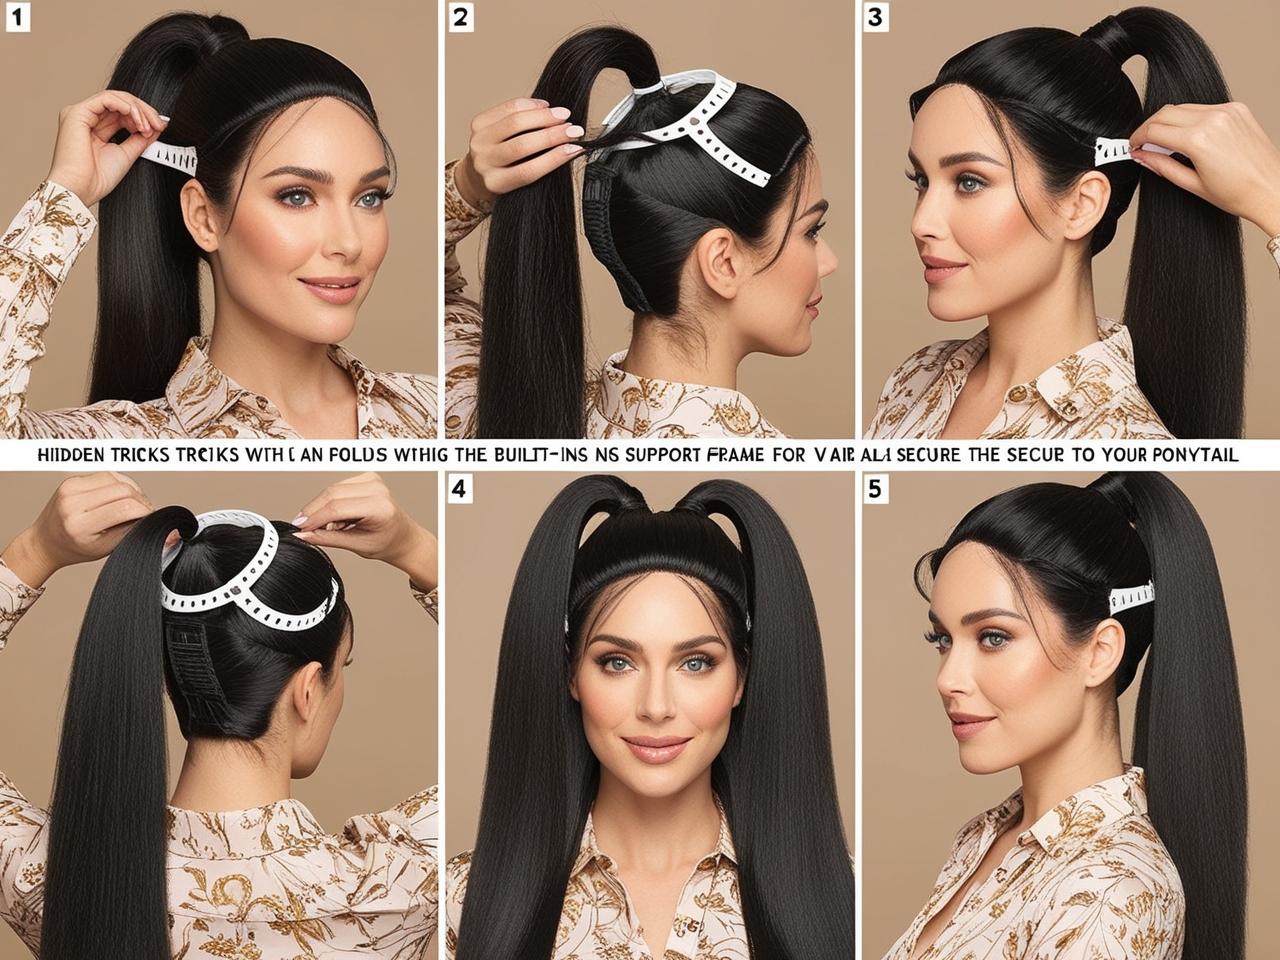
How to Create a High Ponytail with Wig Pieces
30-Second Styling Tips

Maintaining Emotional Connections Through Hair Solutions

Wearing a long wig for short hair