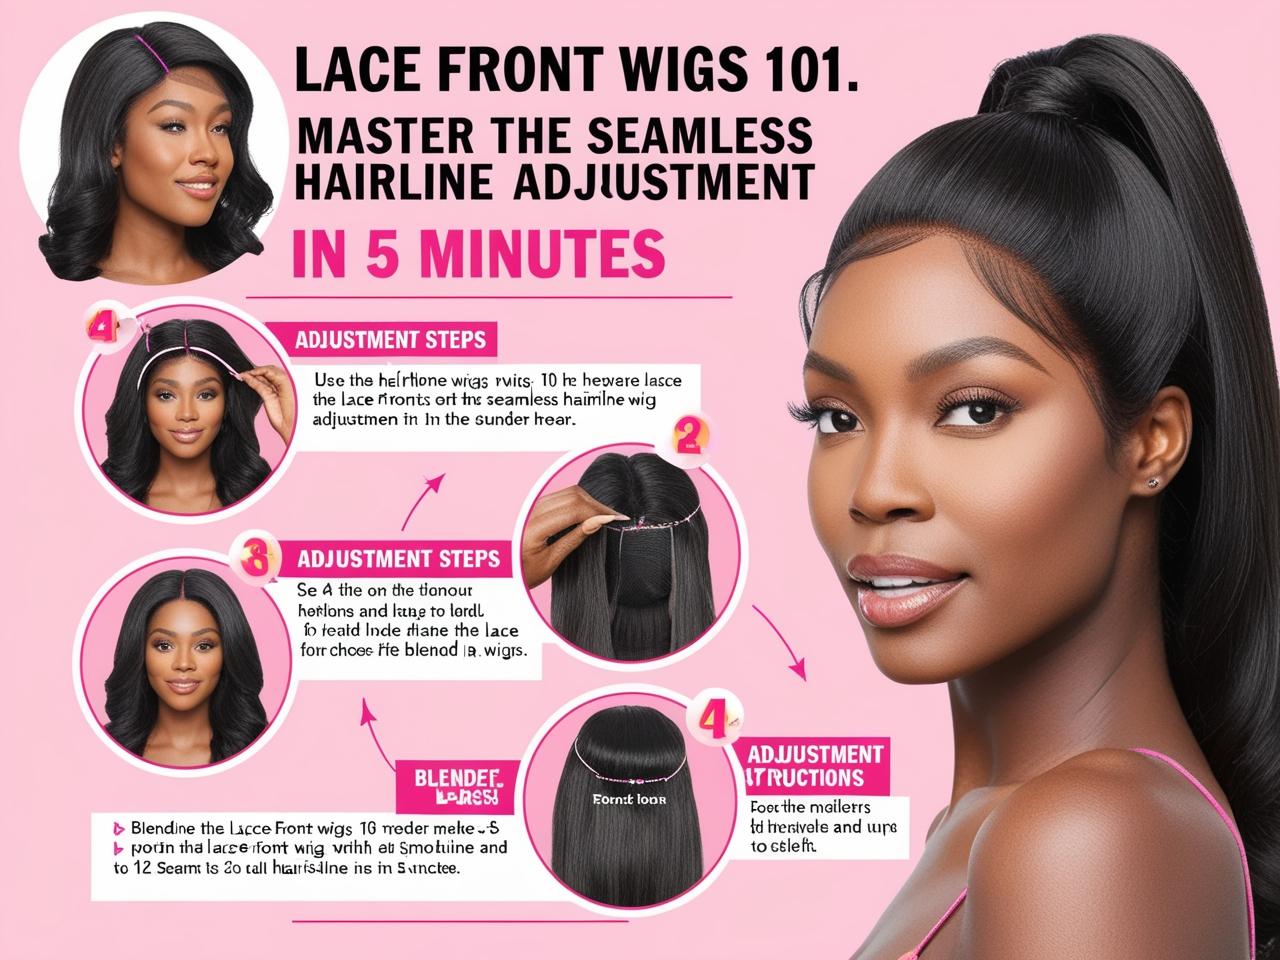
5 Minutes to Master Scar-Free Hairline Adjustments
For those who are new to lace front wigs, creating a perfect and seamless hairline seems to be a skill only possessed by professionals. But how would you feel if we told you that even a first-time wig wearer can adjust the hairline of a lace wig to look 100% natural in less than 5 minutes? Whether you're dealing with thinning hair edges, trying out a new hairstyle, or craving an instant glamorous look, this step-by-step guide will enhance your skills in wearing lace wigs. Together, let's dive into the secrets of customizing your hairline without a trace, using techniques that are easy for even novices to follow and popular tools like HD lace wigs and pre-trimmed hairlines.
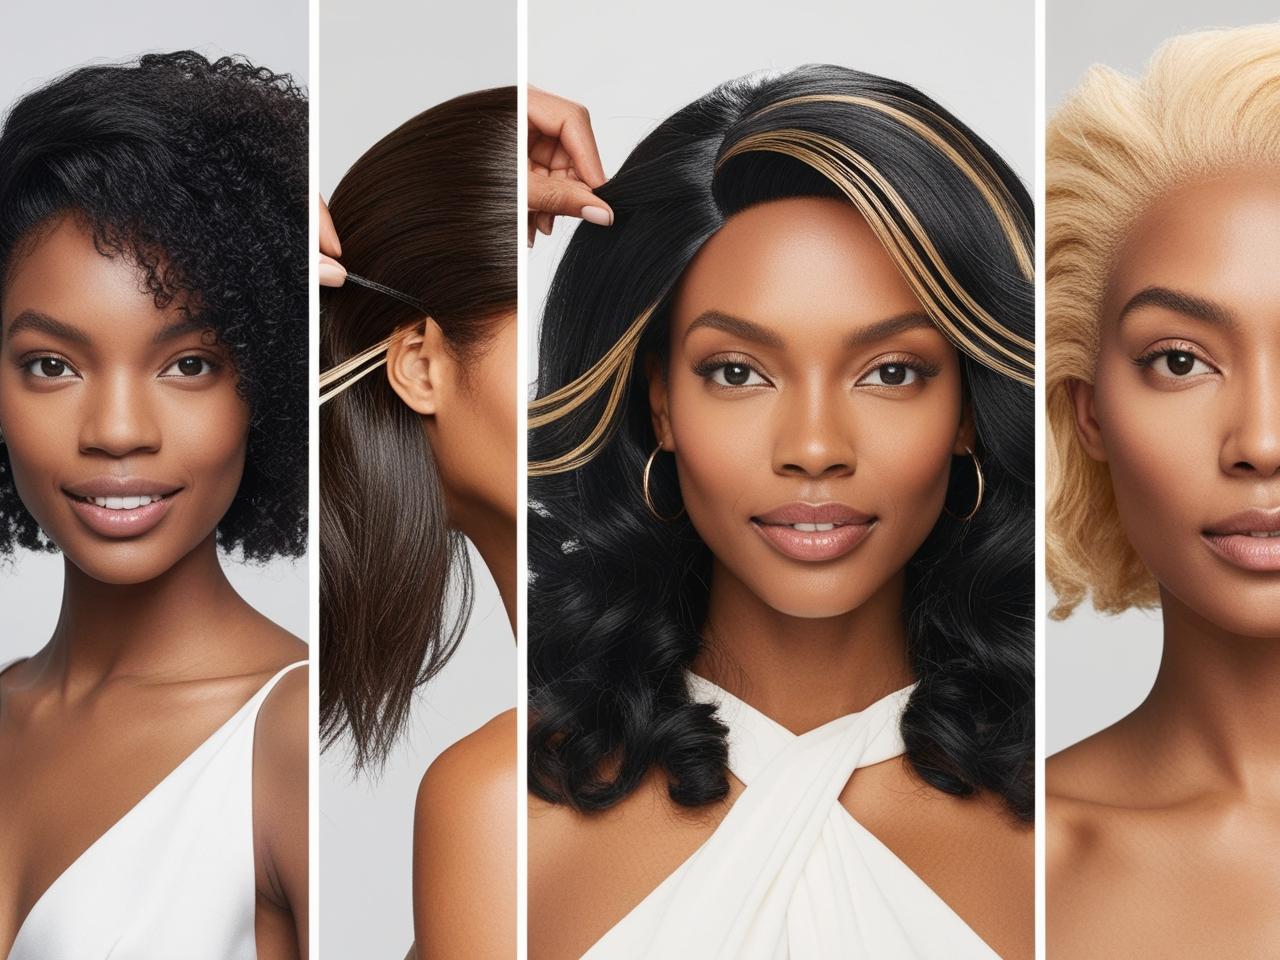
Why choose a lace front wig? The allure of a seamless hairline
Lace front wigs have revolutionized the beauty industry by providing a seamless hairline that mimics natural hair growth. Unlike traditional wigs, the lightweight lace base blends perfectly with your skin tone, creating the visual effect of hair growing directly from the scalp. For beginners, modern innovations such as Swiss lace, glue-free installation and pre-cut lace make the wearing process easier than ever.
Key benefits for new wearers:
Instant volume and length: no more waiting around for hair to grow naturally.
Scalp friendly: protects natural hair from heat damage and styling.
Styling versatility: the ability to easily switch between chopped, center or side parted styles.
5-Minute Hairline Adjustment Tutorial (Tools Required)
Prepare the following essential tools to ensure a foolproof operation:
Lace front wig: choose HD lace or sheer lace material for an ultra-natural blending effect.
Scalp protection spray: to prevent the glue from irritating the skin.
Wig glue or tape: choose a water-based glue for sensitive skin.
Small scissors: for trimming excess lace.
Concealer or foundation: choose a product that matches the color of your scalp to make the lace invisible.
Hair dryer (optional): for heating the glue to make it stick longer.
Step 1: Professional Grade Wig & Scalp Preparation
A. Customizing the Lace
Trimming the lace: Keep 1 - 2 mm of lace outside the hairline. Use small scissors to cut a tiny upward curve along the hairline - do not cut straight across!
Pro tip: Create a slight “spike” near the temples to mimic the natural unevenness.
B. Prepare the skin
Cleanse forehead with topical alcohol to remove oils.
Apply a scalp protector to prevent the glue from irritating the skin.
Step 2: Fixing the wig to create a “tight” hairline
A. Apply glue (for beginners)
Apply a thin layer of glue a quarter inch behind the natural hairline. Wait 1 - 2 minutes until the glue becomes tacky.
Align the hairline of the wig with your own and press gently from the center outward. Press the edges firmly with a silk scarf.
B. Glue-free method (quick and reusable)
Use a wig holder or adjustable hair band to ensure a secure fit. Great for everyday wear!
C. Blending Lace
Use a makeup sponge to pat concealer onto the lace and set with loose powder.
Step 3: Creating Choppy Hair & Finishing Touches
Choppy Hair Magic: Use a spiral brush to organize fine chunks of hair along the edges. Apply Edge Styling Gel to smooth out broken hair.
Leave-in styling: for wavy or curly wigs, use your fingers to wrap strands around to create texture.
The top three most common mistakes newbies make (and solutions)
Over-trimming lace: be conservative when trimming - you can trim again later if needed.
Mismatched hairline volume: if you have thinning edges, opt for a pre-trimmed wig.
Skipping the scalp prep step: Glue doesn't stick well on oily skin - be sure to clean your scalp first!
FAQ: Lace Wig Problems All Explained
Q: How often should I reapply the glue?
A: Water-based glue lasts 1 - 3 days; silicone tape stays on for up to a week.
Q: Can I swim or play sports in my lace wig?
A: Yes! Use waterproof wig tape and secure with a headband for extra support.
Q: Which lace color is best for those with lighter skin tones?
A: Sheer lace is perfect for all skin tones, while brown lace is better for darker skin tones.
Final Pro Tip: Invest in a “skin-like” lace wig!
For the most realistic look, choose HD lace wigs - they are thinner than Swiss lace and perfectly invisible. Pair them with bleached knots for natural-looking volume.
3 Great Storage Solutions to Combat Moisture and Mildew
Three steps to using a wig cap on real hair
Related Posts
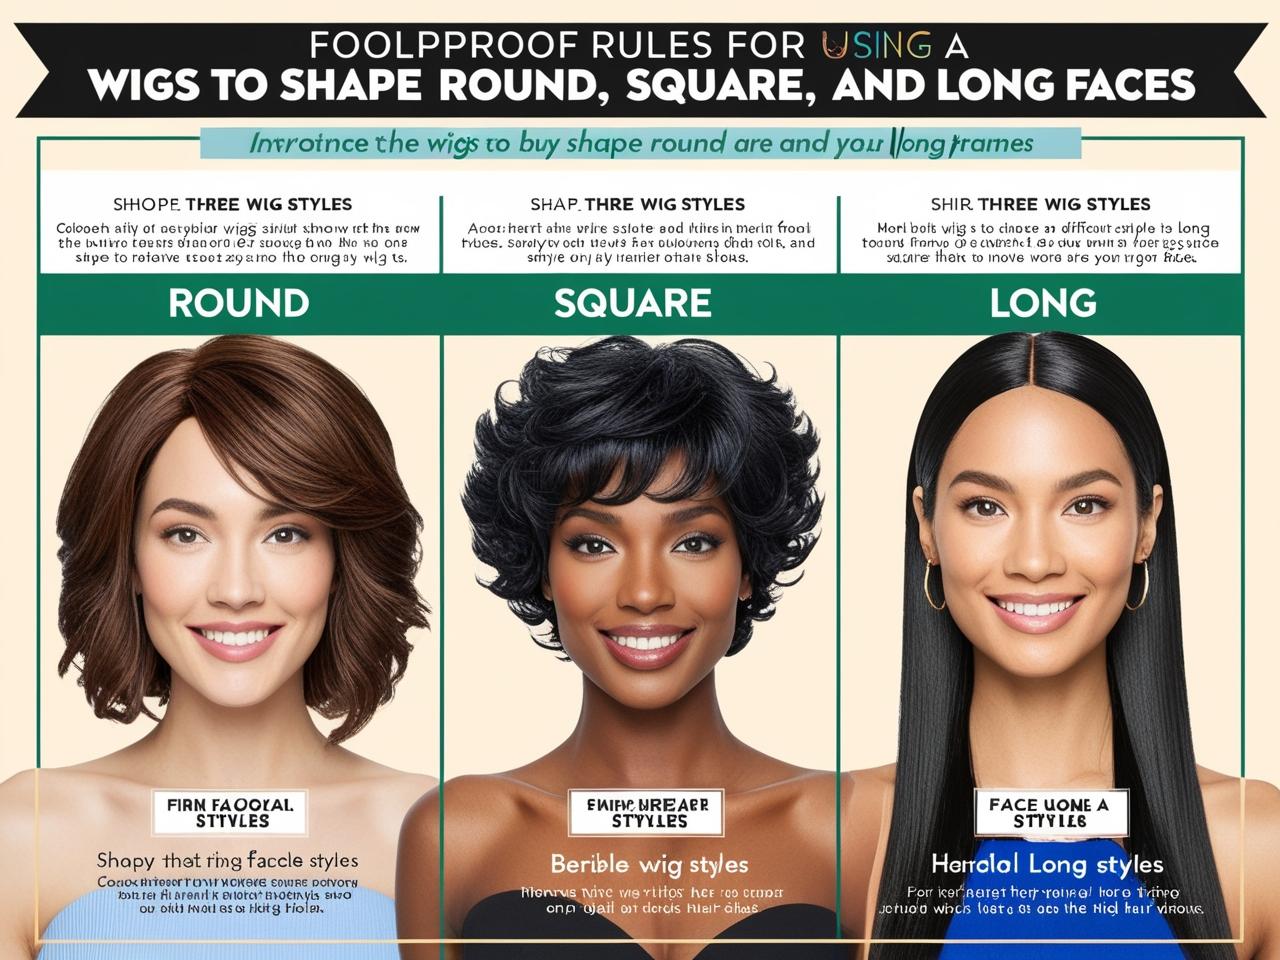
How to contour your face with a wig

The art of styling wigs while wearing glasses
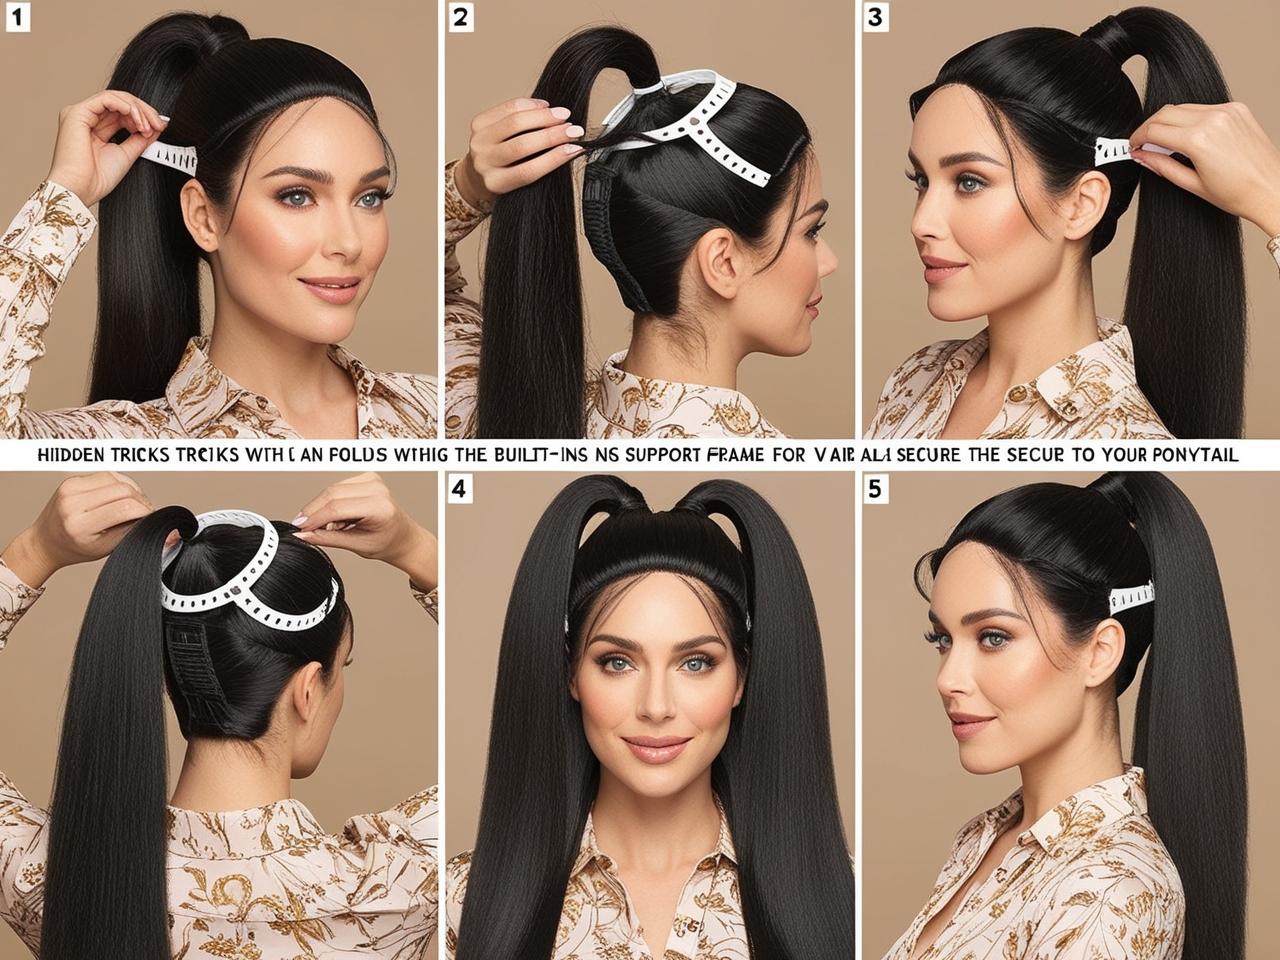
How to Create a High Ponytail with Wig Pieces
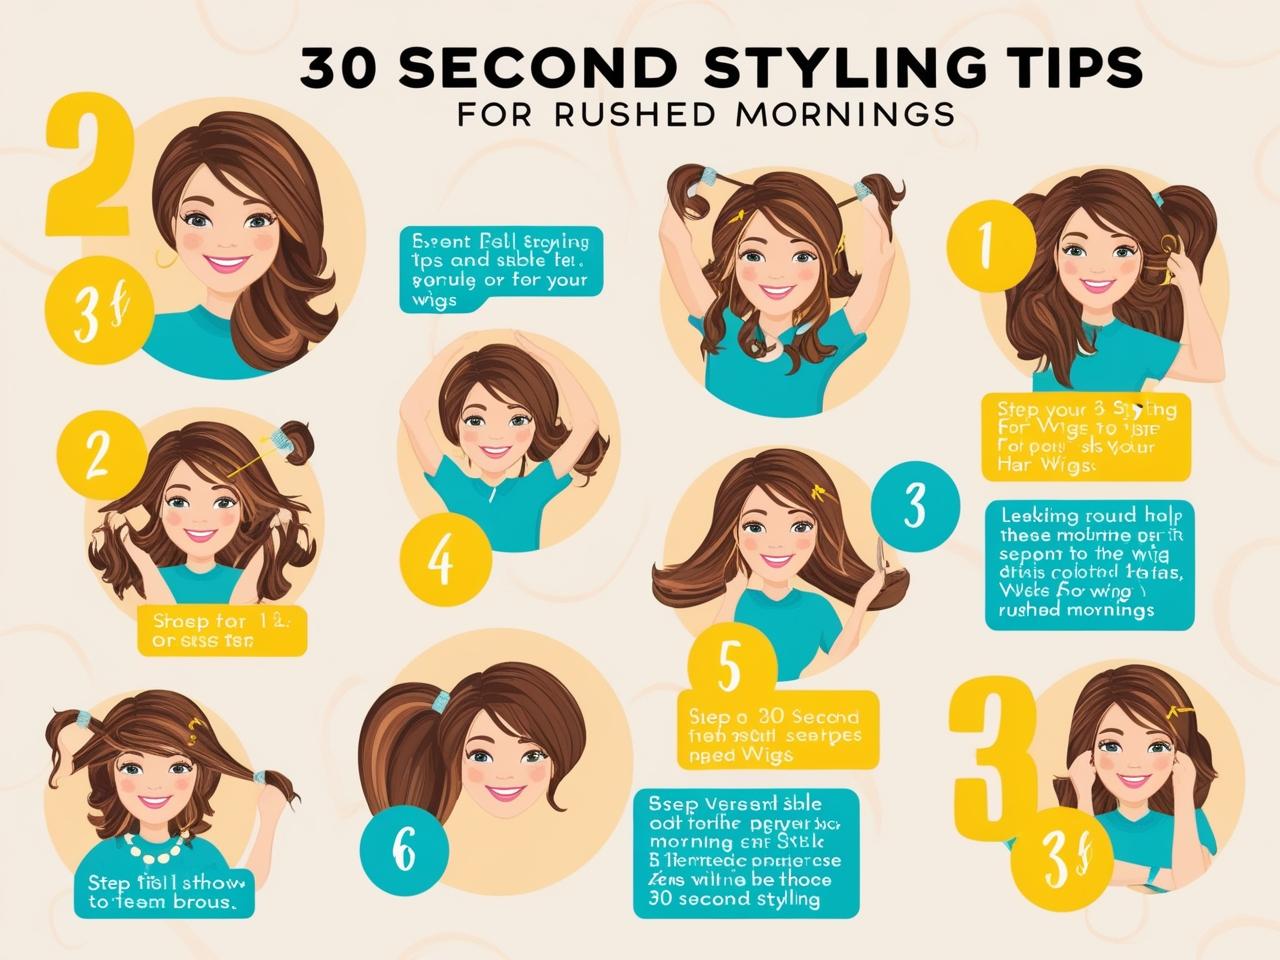
30-Second Styling Tips

Maintaining Emotional Connections Through Hair Solutions

Wearing a long wig for short hair
Top 3 Tips for Blending Wigs with Real Hair